Introduction
In this article, we will explain to you how to schedule an automated VPS image backup. In order to configure automated backups for your server, you will need to first purchase backup slots for your VPS. These can be added upon initial order or in the control panel after ordering. If you need assistance, please contact us.
Prerequisites
You will need:
- VPS from LaunchVPS
Step 1 - Select VPS
After you have purchased backup slots for your VPS, let's navigate to our VPS service and begin configuring scheduled backups. First, click the Services link on the control panel homepage: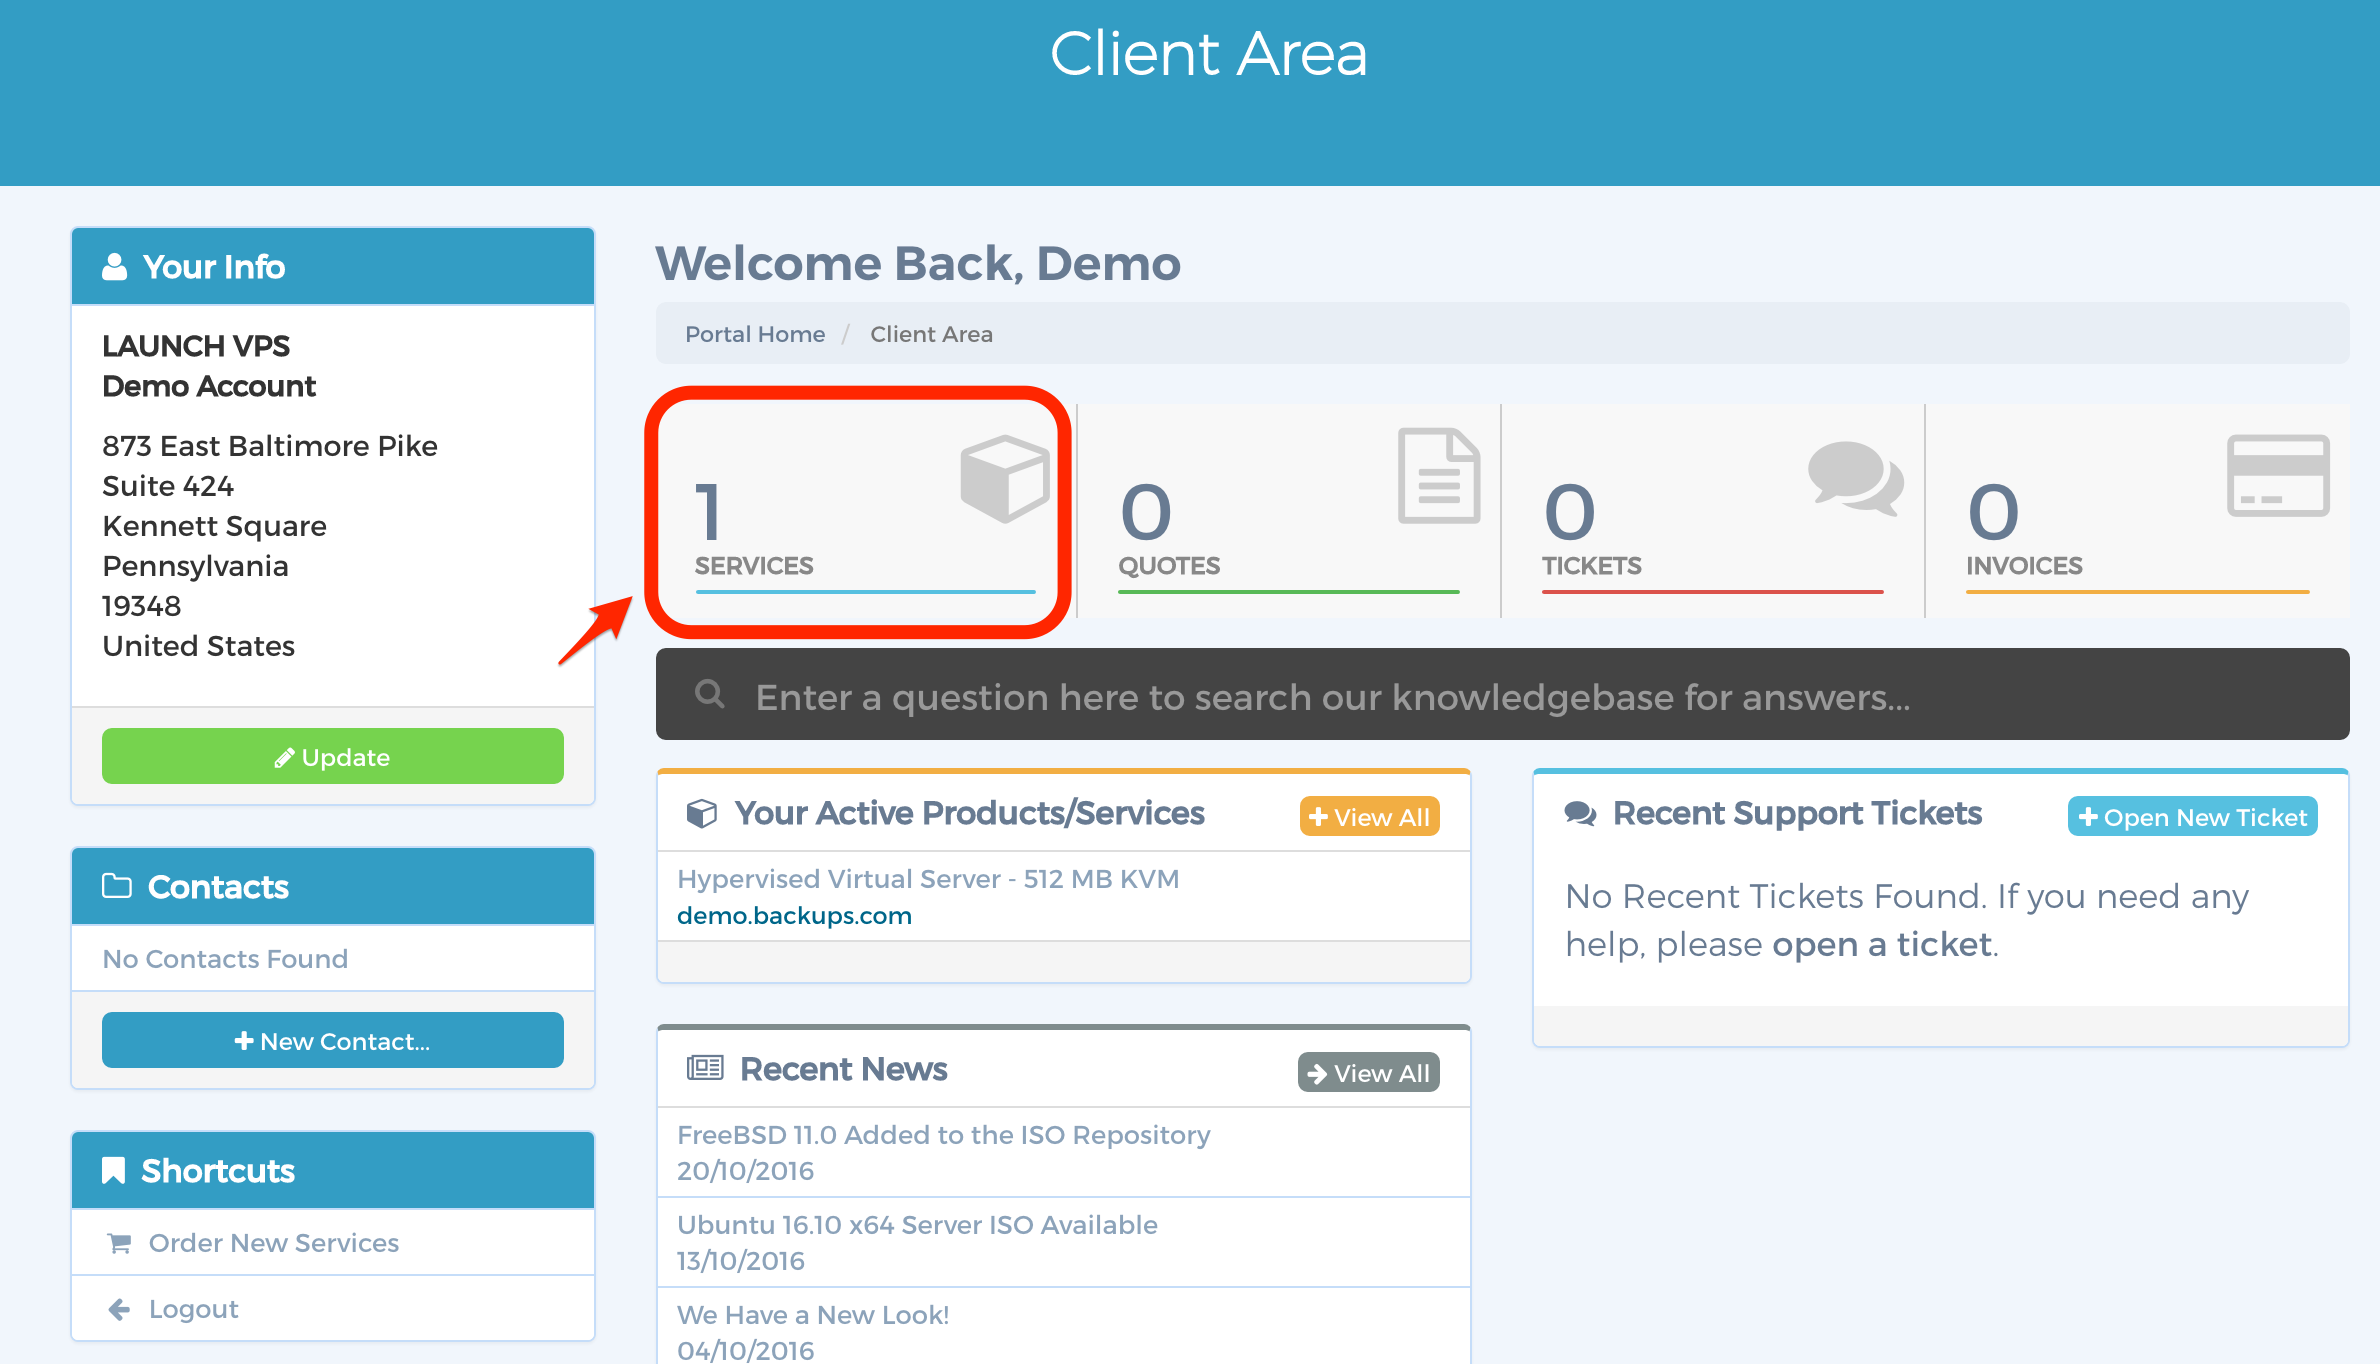
Next, click the product that you would like to configure backups for. In this case, we will set up backups for demo.backups.com:

Step 2 - Create Backup Job
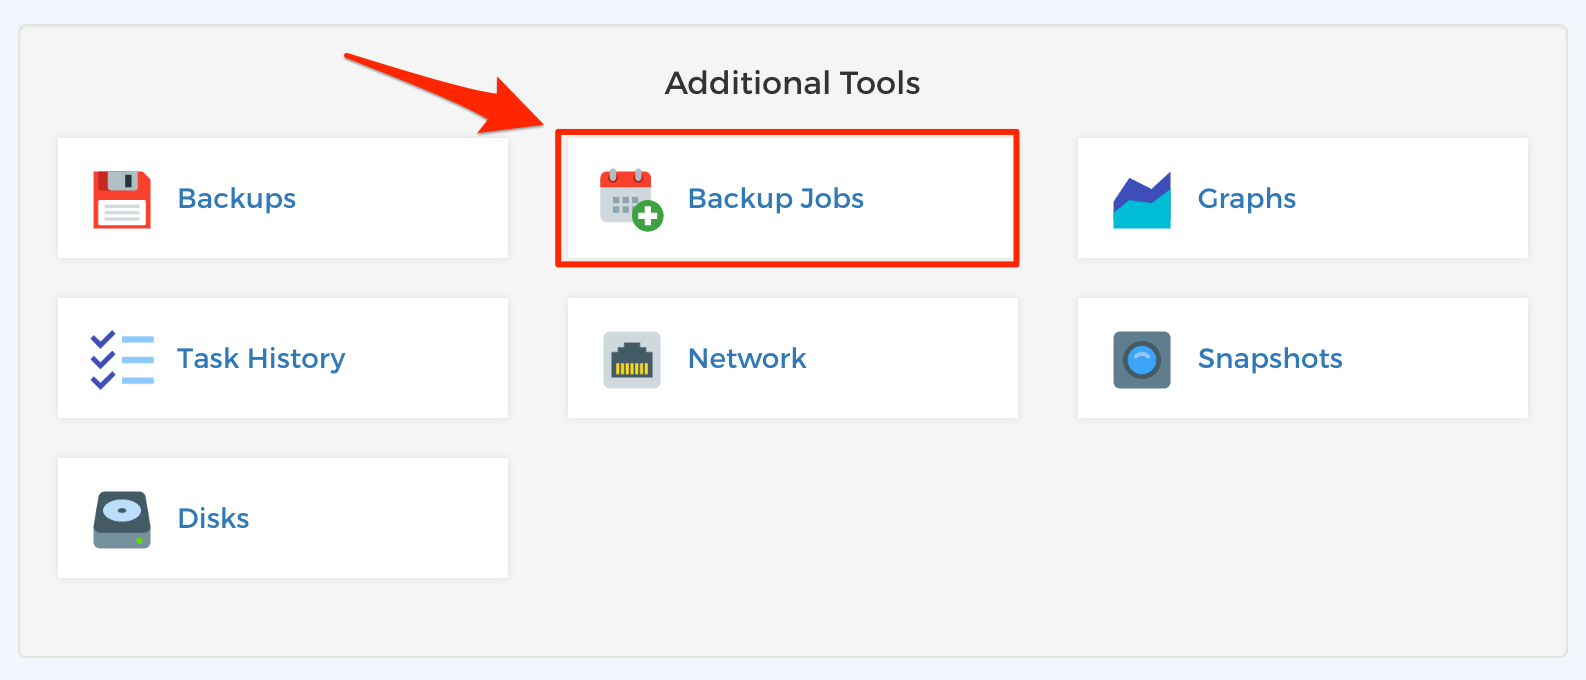
In the VPS management page, scroll down and select the Backup Jobs link:
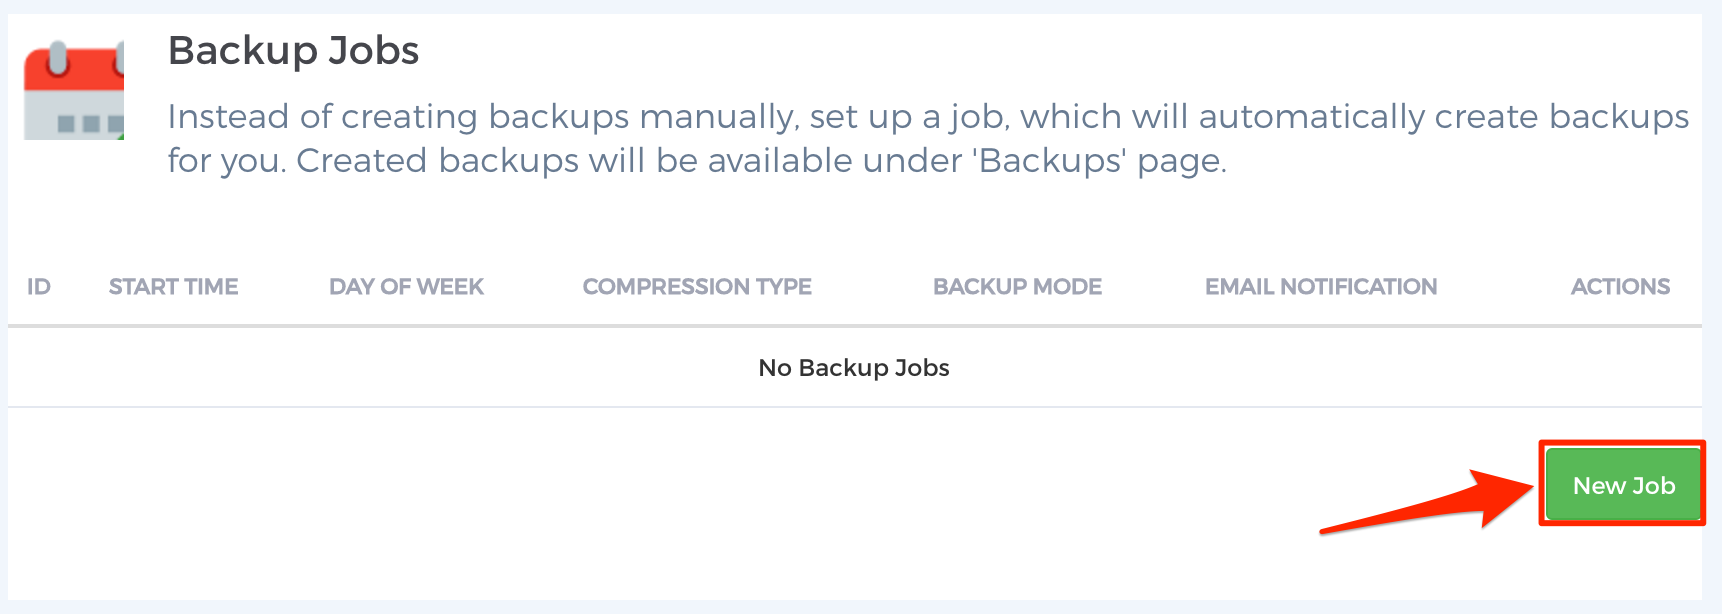
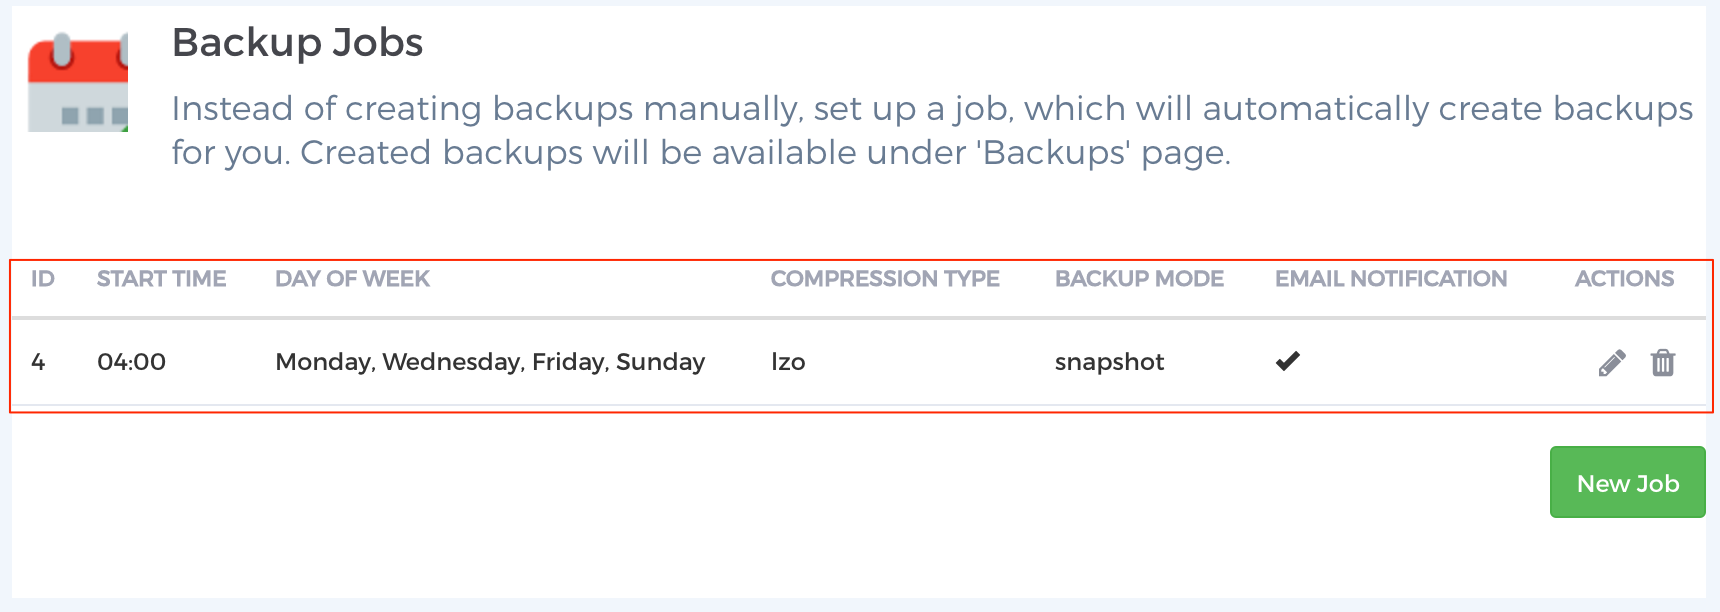
You will now enter the backup jobs screen. Select New Job:
Configure the job as needed for your use case. Please see the option descriptions below.
Start Time: Will set the start time of the backup. The time zone is in the local datacenter.
Day of the Week: Will select the day of the week the backups will run. Multiple days can be selected. Select all days to configure daily backups.
Compression Type: LZO (Fast) should be selected for this option.
Backup Mode: Selecting Snapshot will allow the VPS to stay online during the backup. Other options will shut the VPS down while backups occur.
Enable Mail Notification: Checking this box will enable status emails to be sent to eh administrative contact on the account.
After all of the options are set, click the Add button: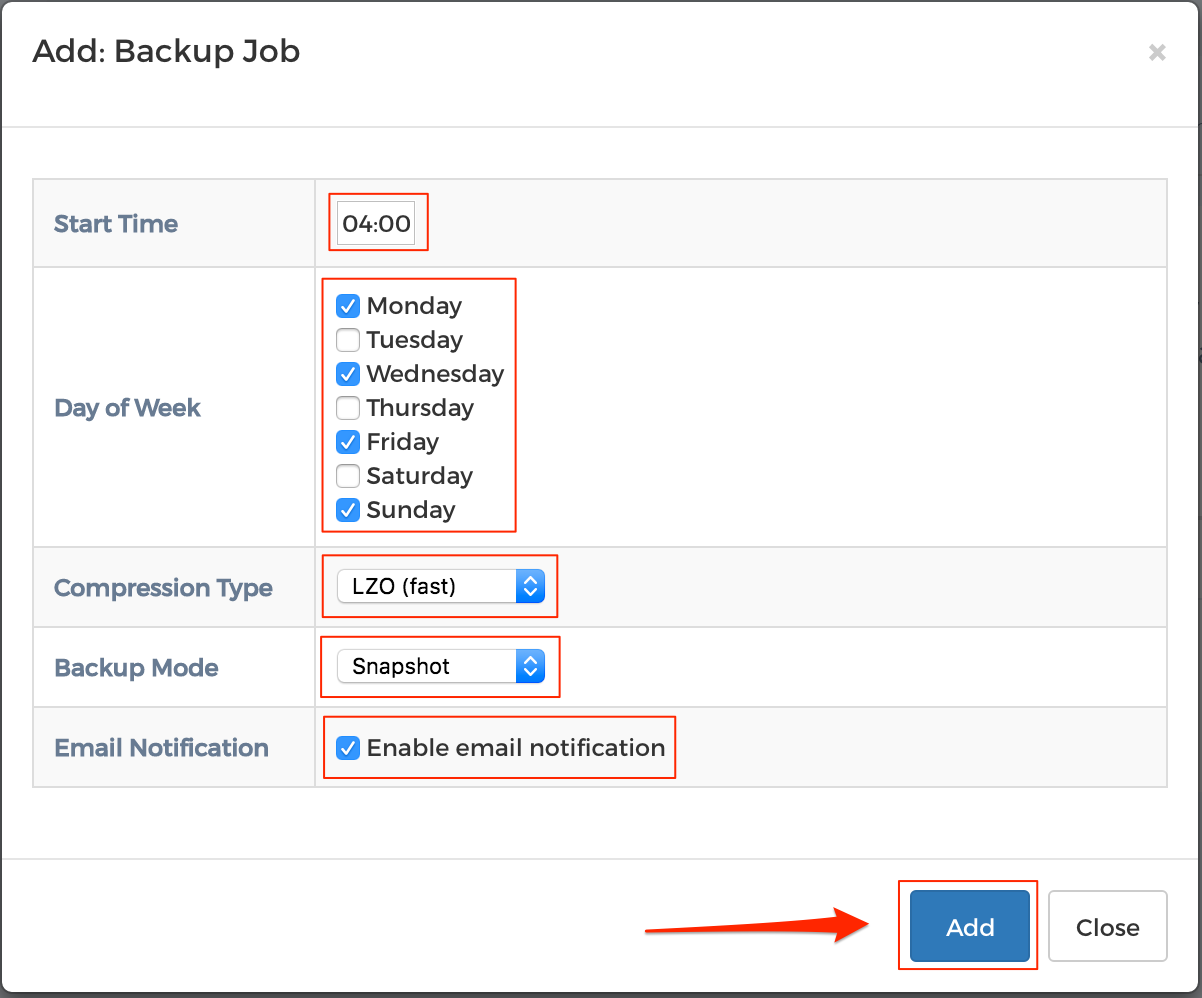
Step 3 - Completed
Finally, wait until your backup has been completed. After the backup completes, you will see the backup listed as shown below:
Conclusion
You have successfully scheduled automated VPS image backups. Now you will have automated backups performed on during the times and days you have chosen!

