Introduction
In this article, we will explain to you How To Manage and Add Records to DNS Service. If you are using our DNS management service, let's start adding records.
Prerequisites
You will need :
- DNS Management free from our hosting
Step 1 - Select Service
Navigate the Services area of the control panel.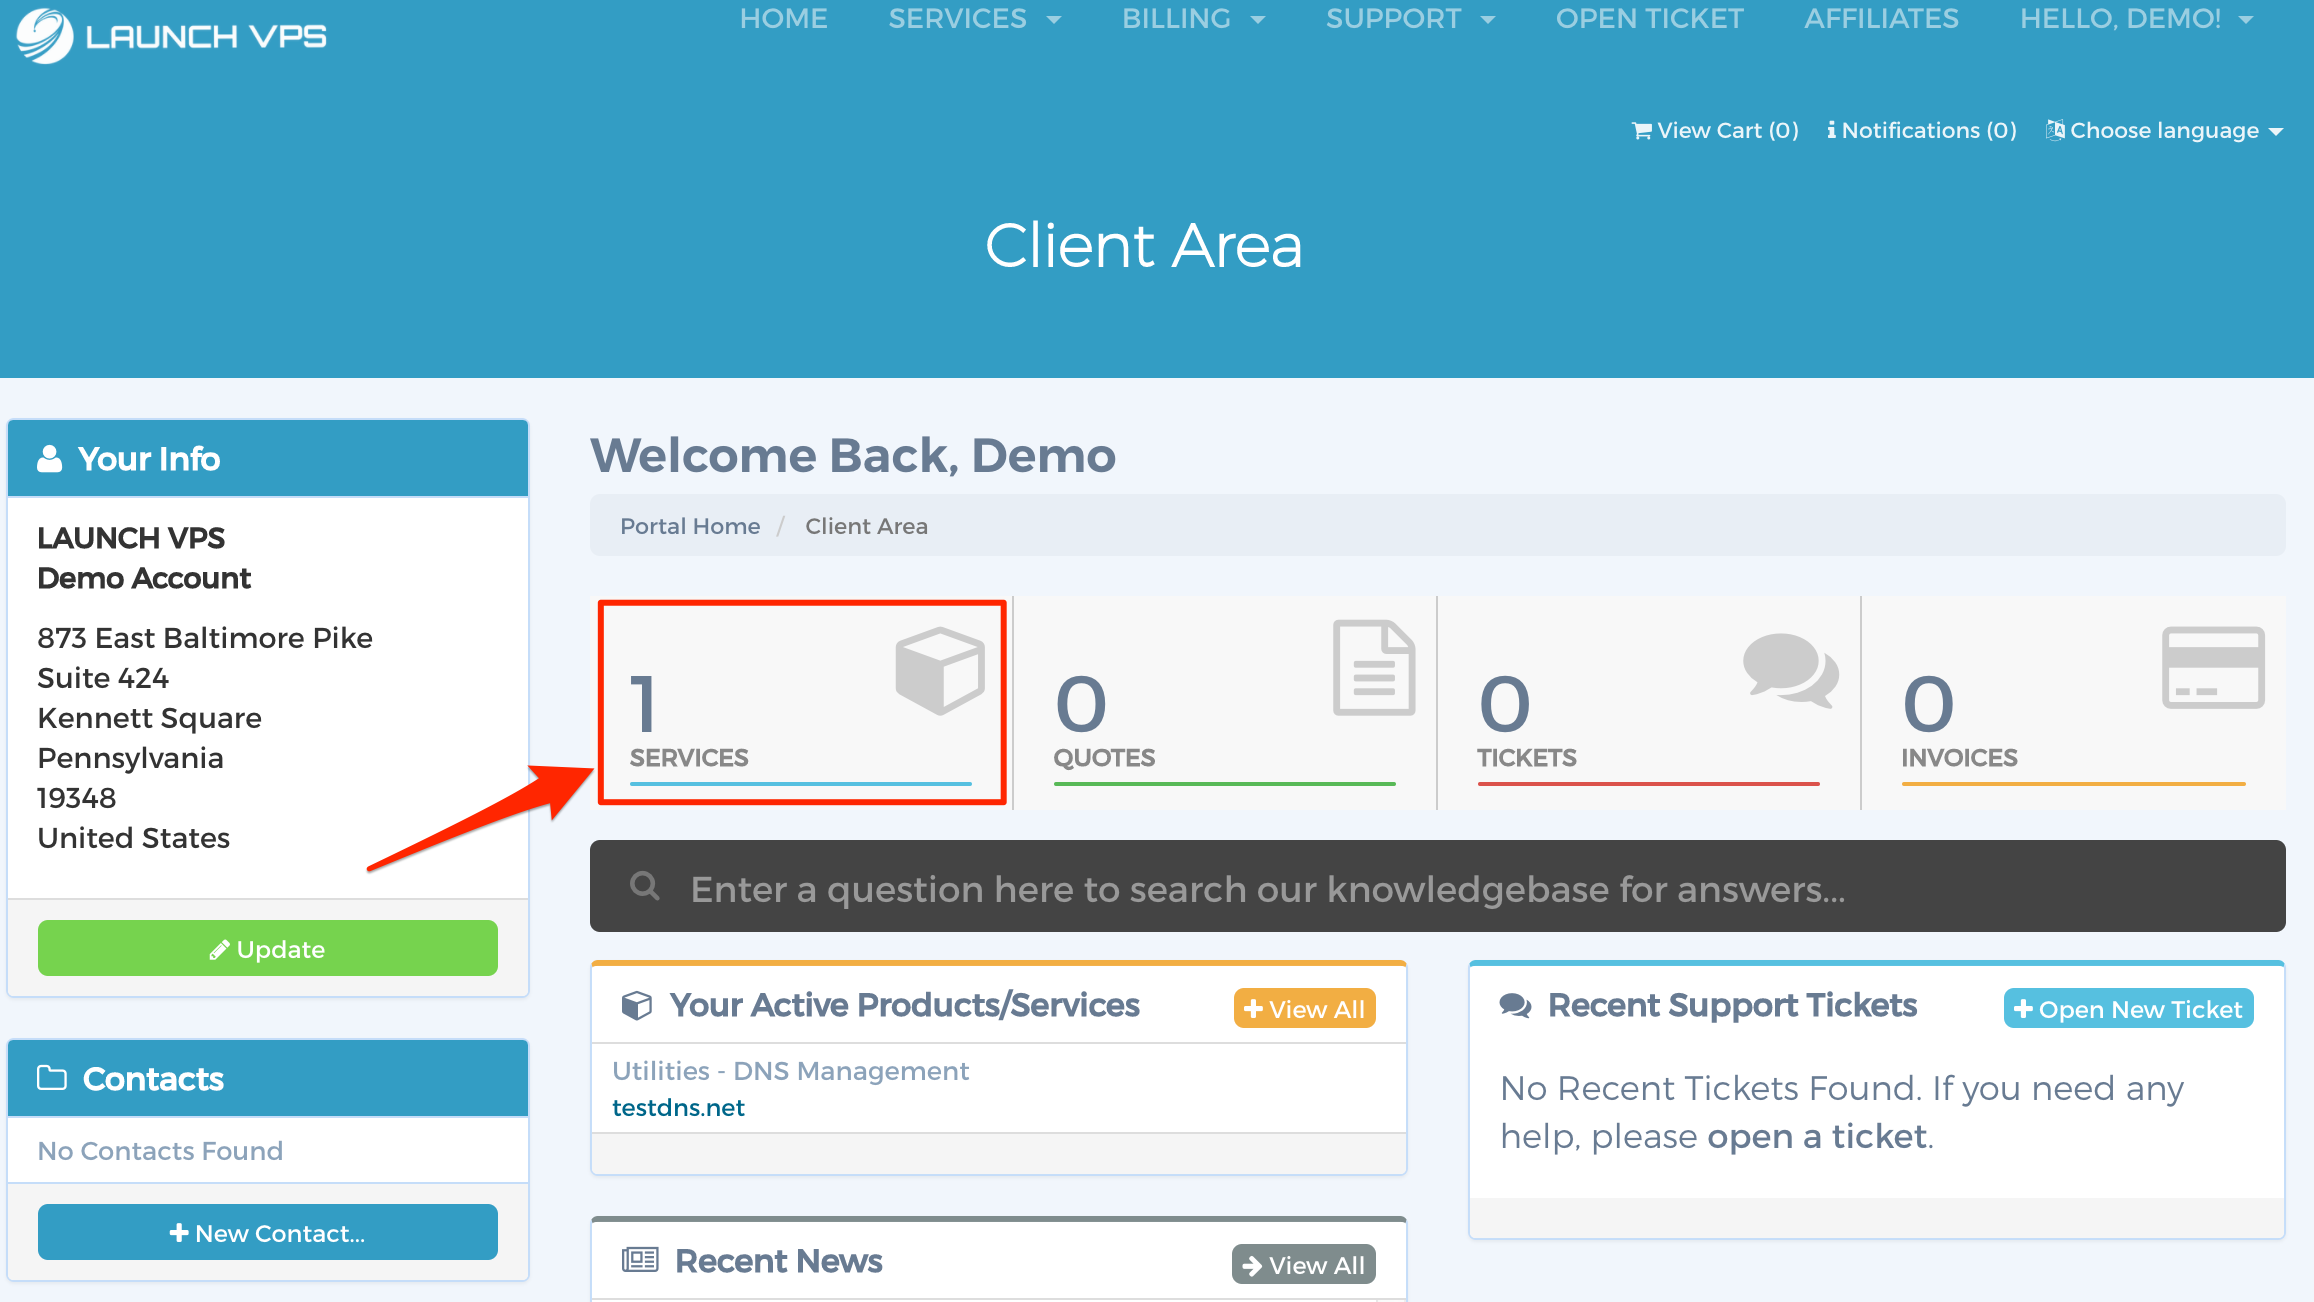
Select the DNS Management service you would like to manage.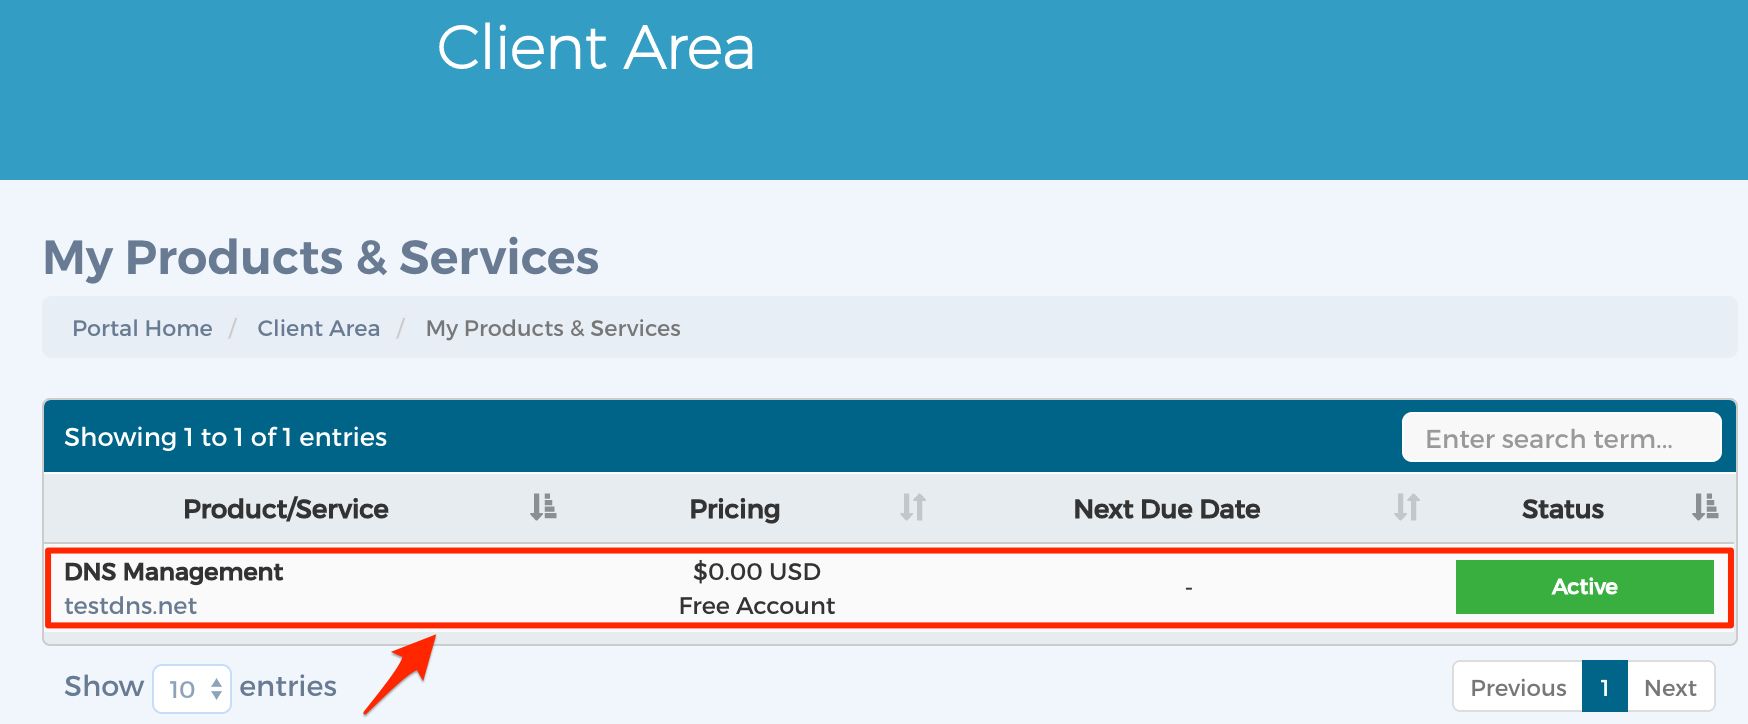
Step 2 - Manage DNS
Click the Manage DNS link.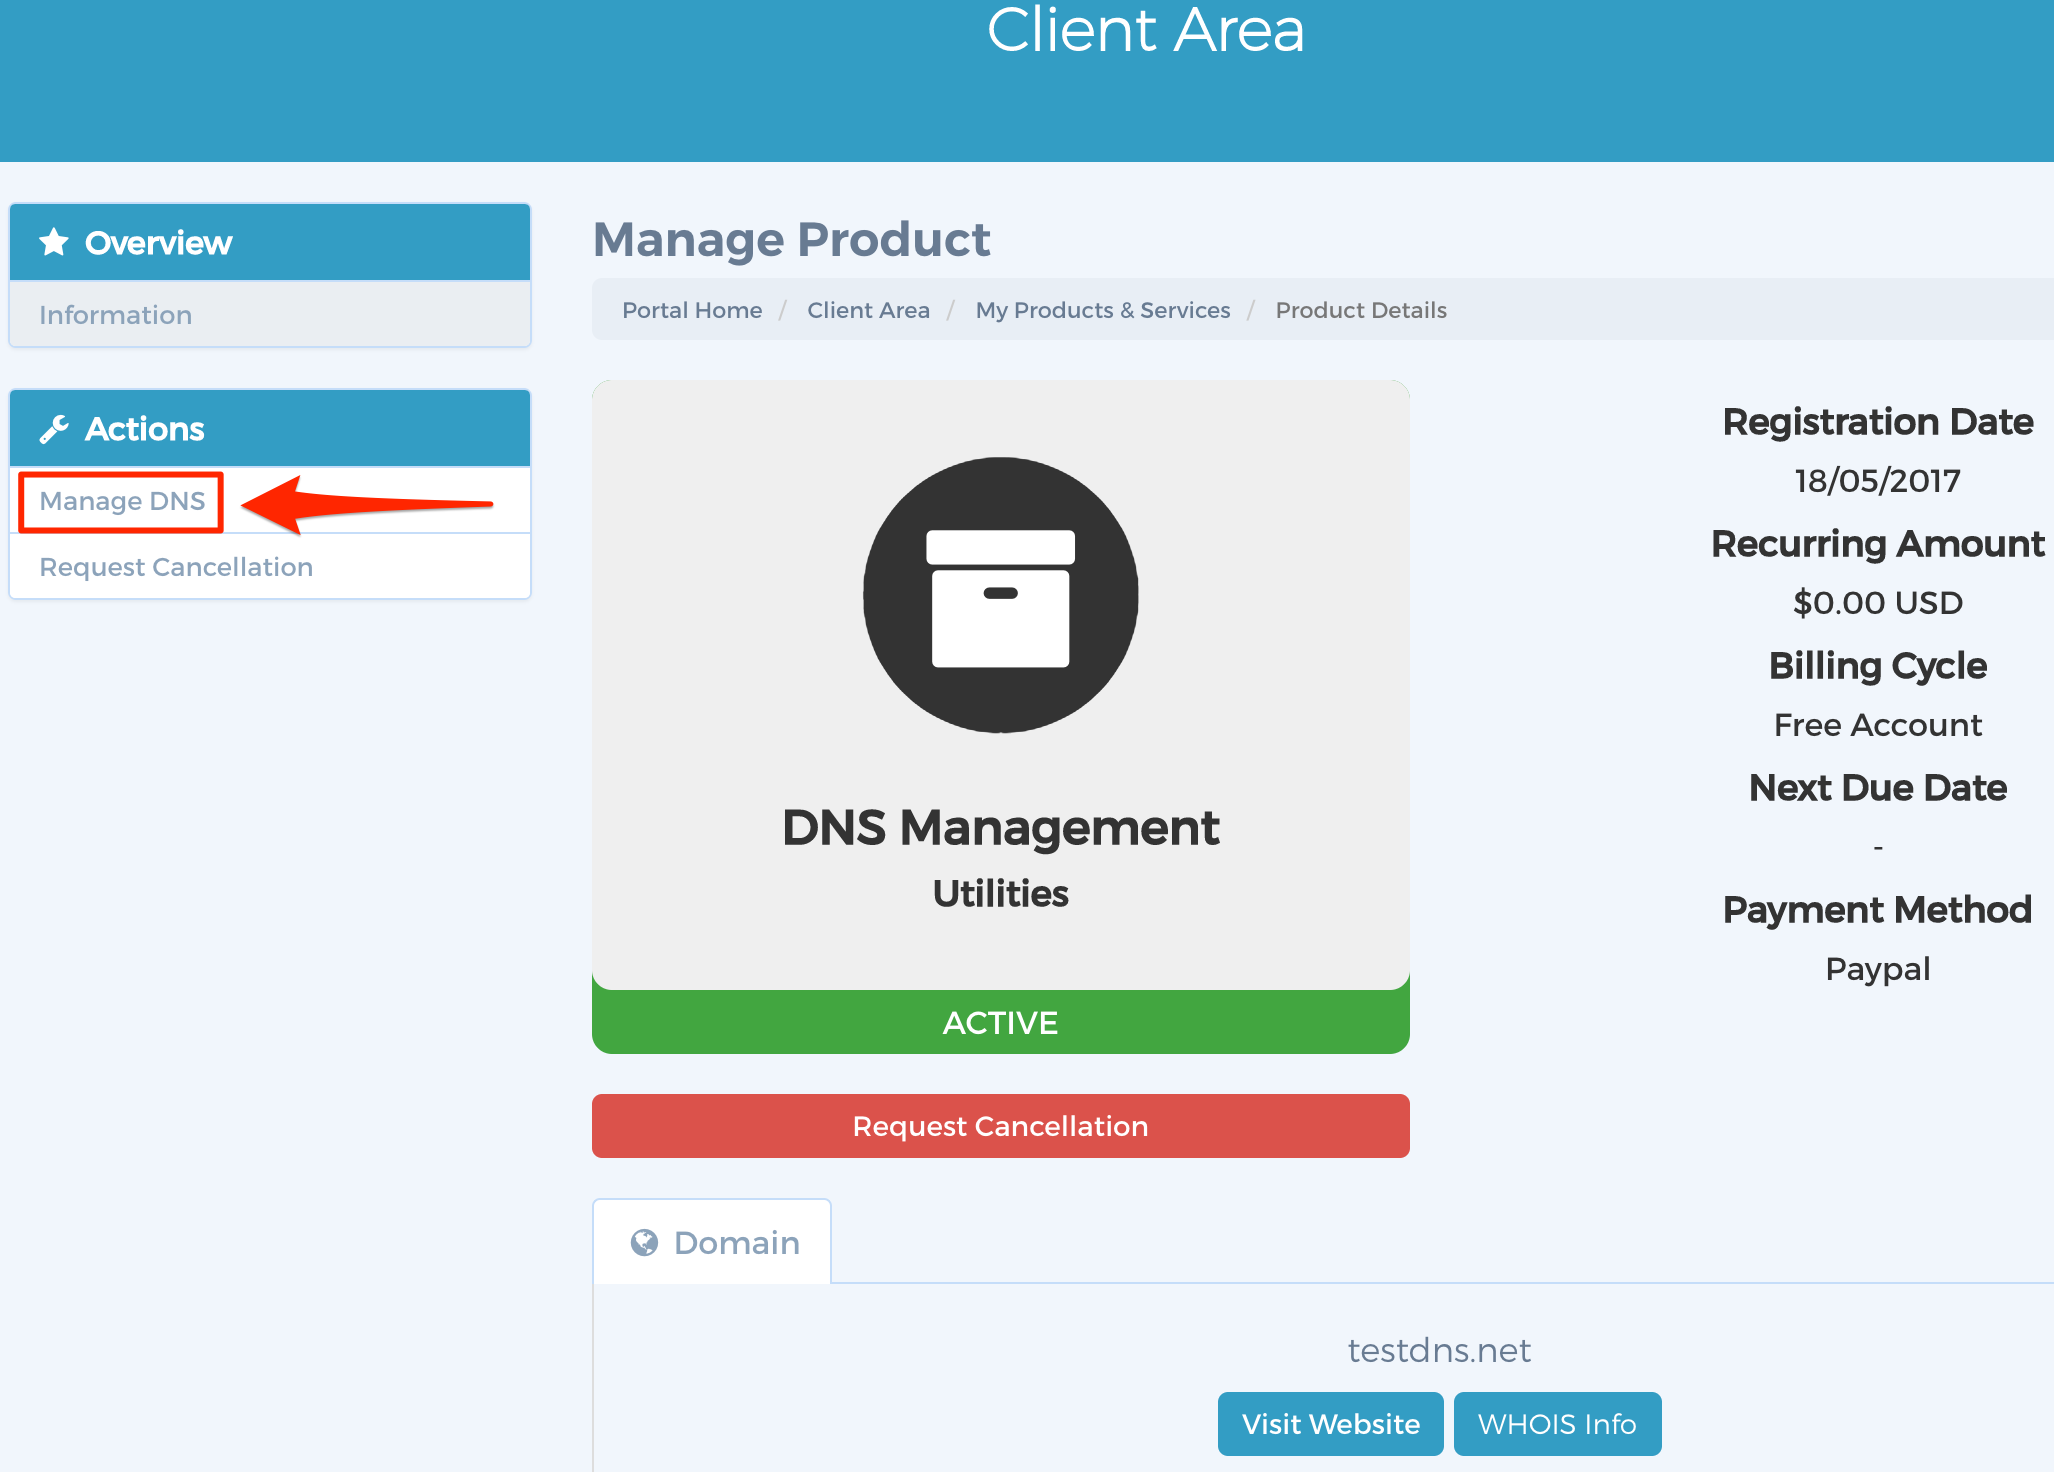
Step 3 - Add Record
Click the Add Record link.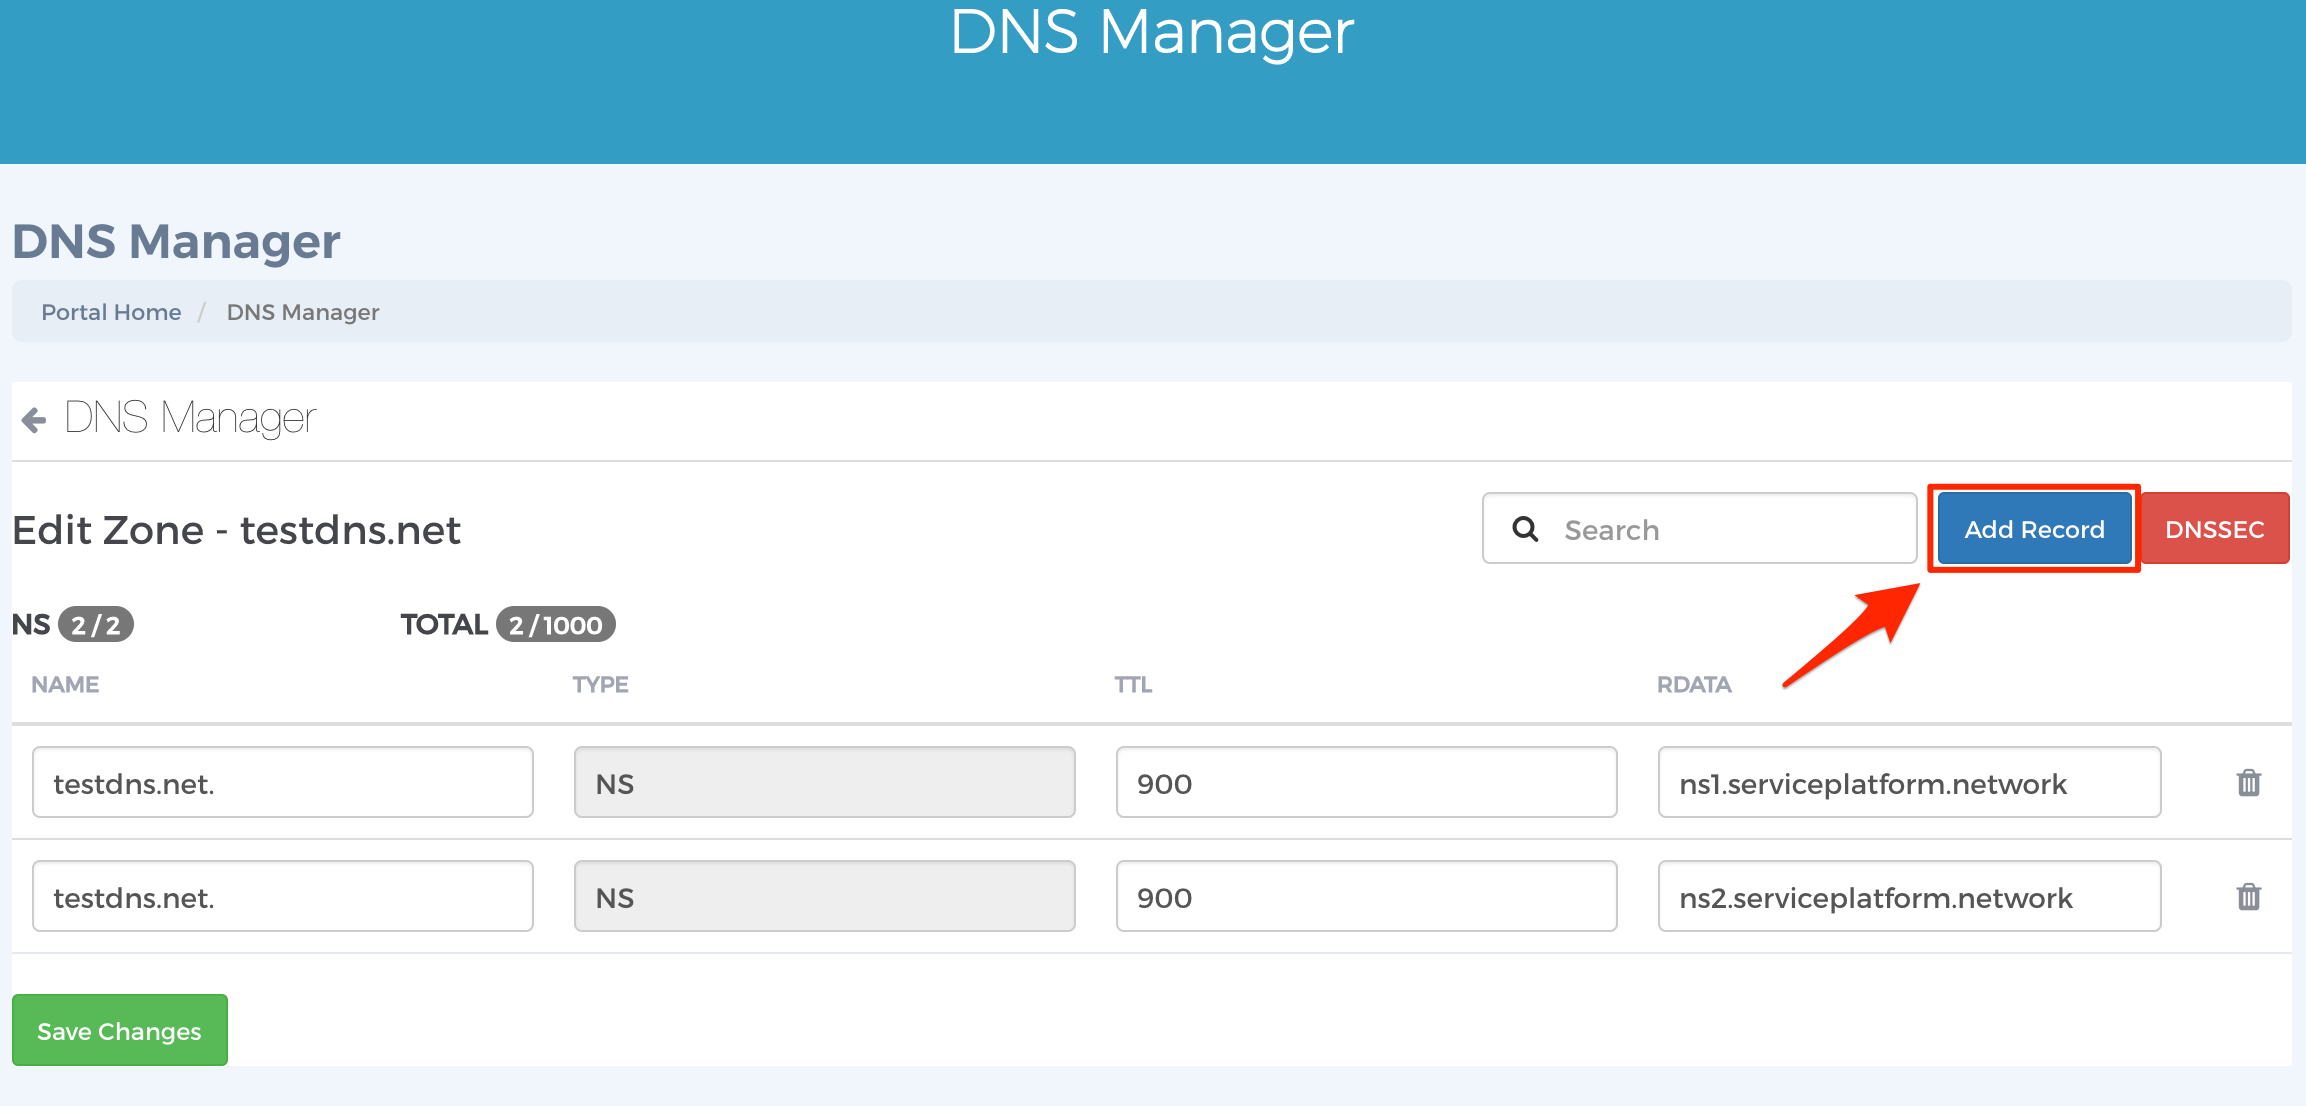
Select the type of record you would like to add. In this example, we will add an A record. Next, add details in the Name field. 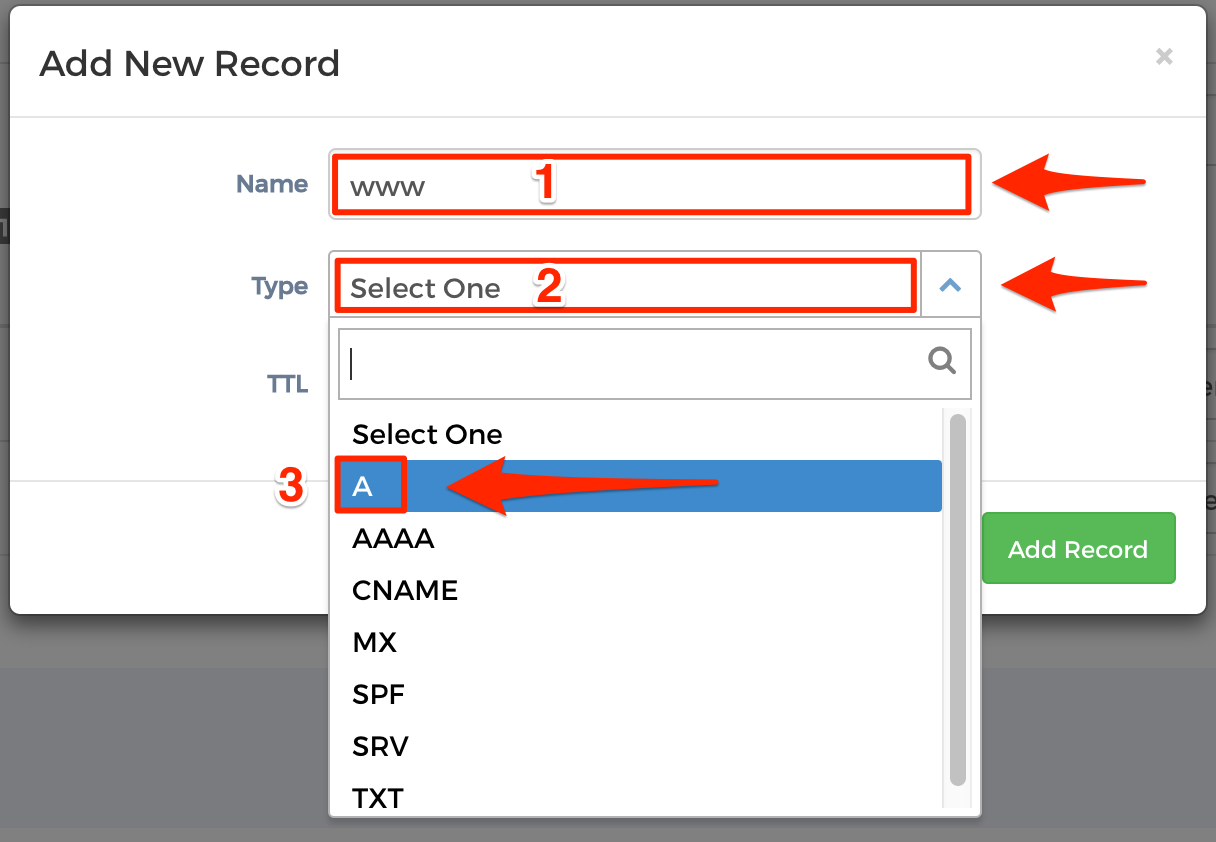
Enter a new TTL or keep the default value. Next, enter an IP in the RDATA field. Finally, click the Add Record button.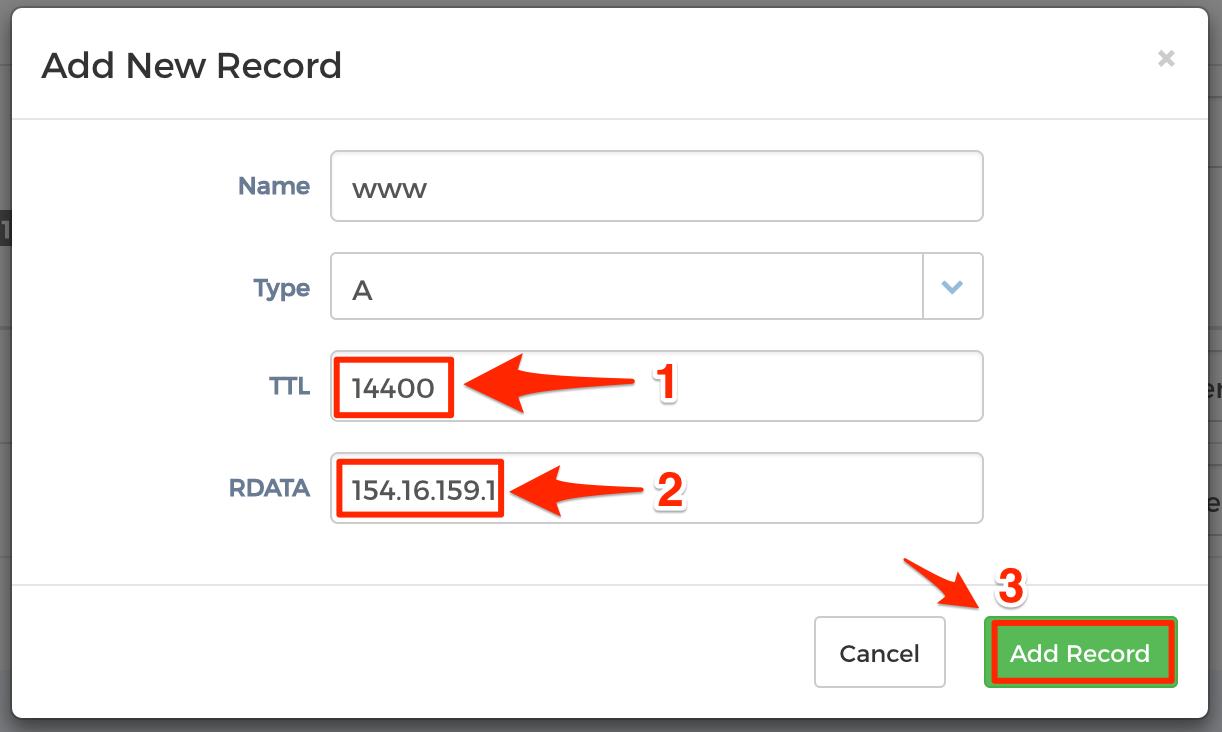
Selecting different record types may require different information. Please contact us if you require any assistance.
Conclusion
You have successfully added new records to DNS service.

